
Rylo 360 Video Camera Review
In late 2017, I started playing around with 360 photos and videos. While it seemed like a novelty at first, I was completely blown away once I discovered the idea of "reframing" or "free capture". This concept is the ability to take a 360 video and output stabilized, art directed fixed-frame video. Rylo's unique combination of hardware and clever software makes this easy and allows you to capture experiences and output video where you "Always Nail the Perfect Shot".
What Is It?
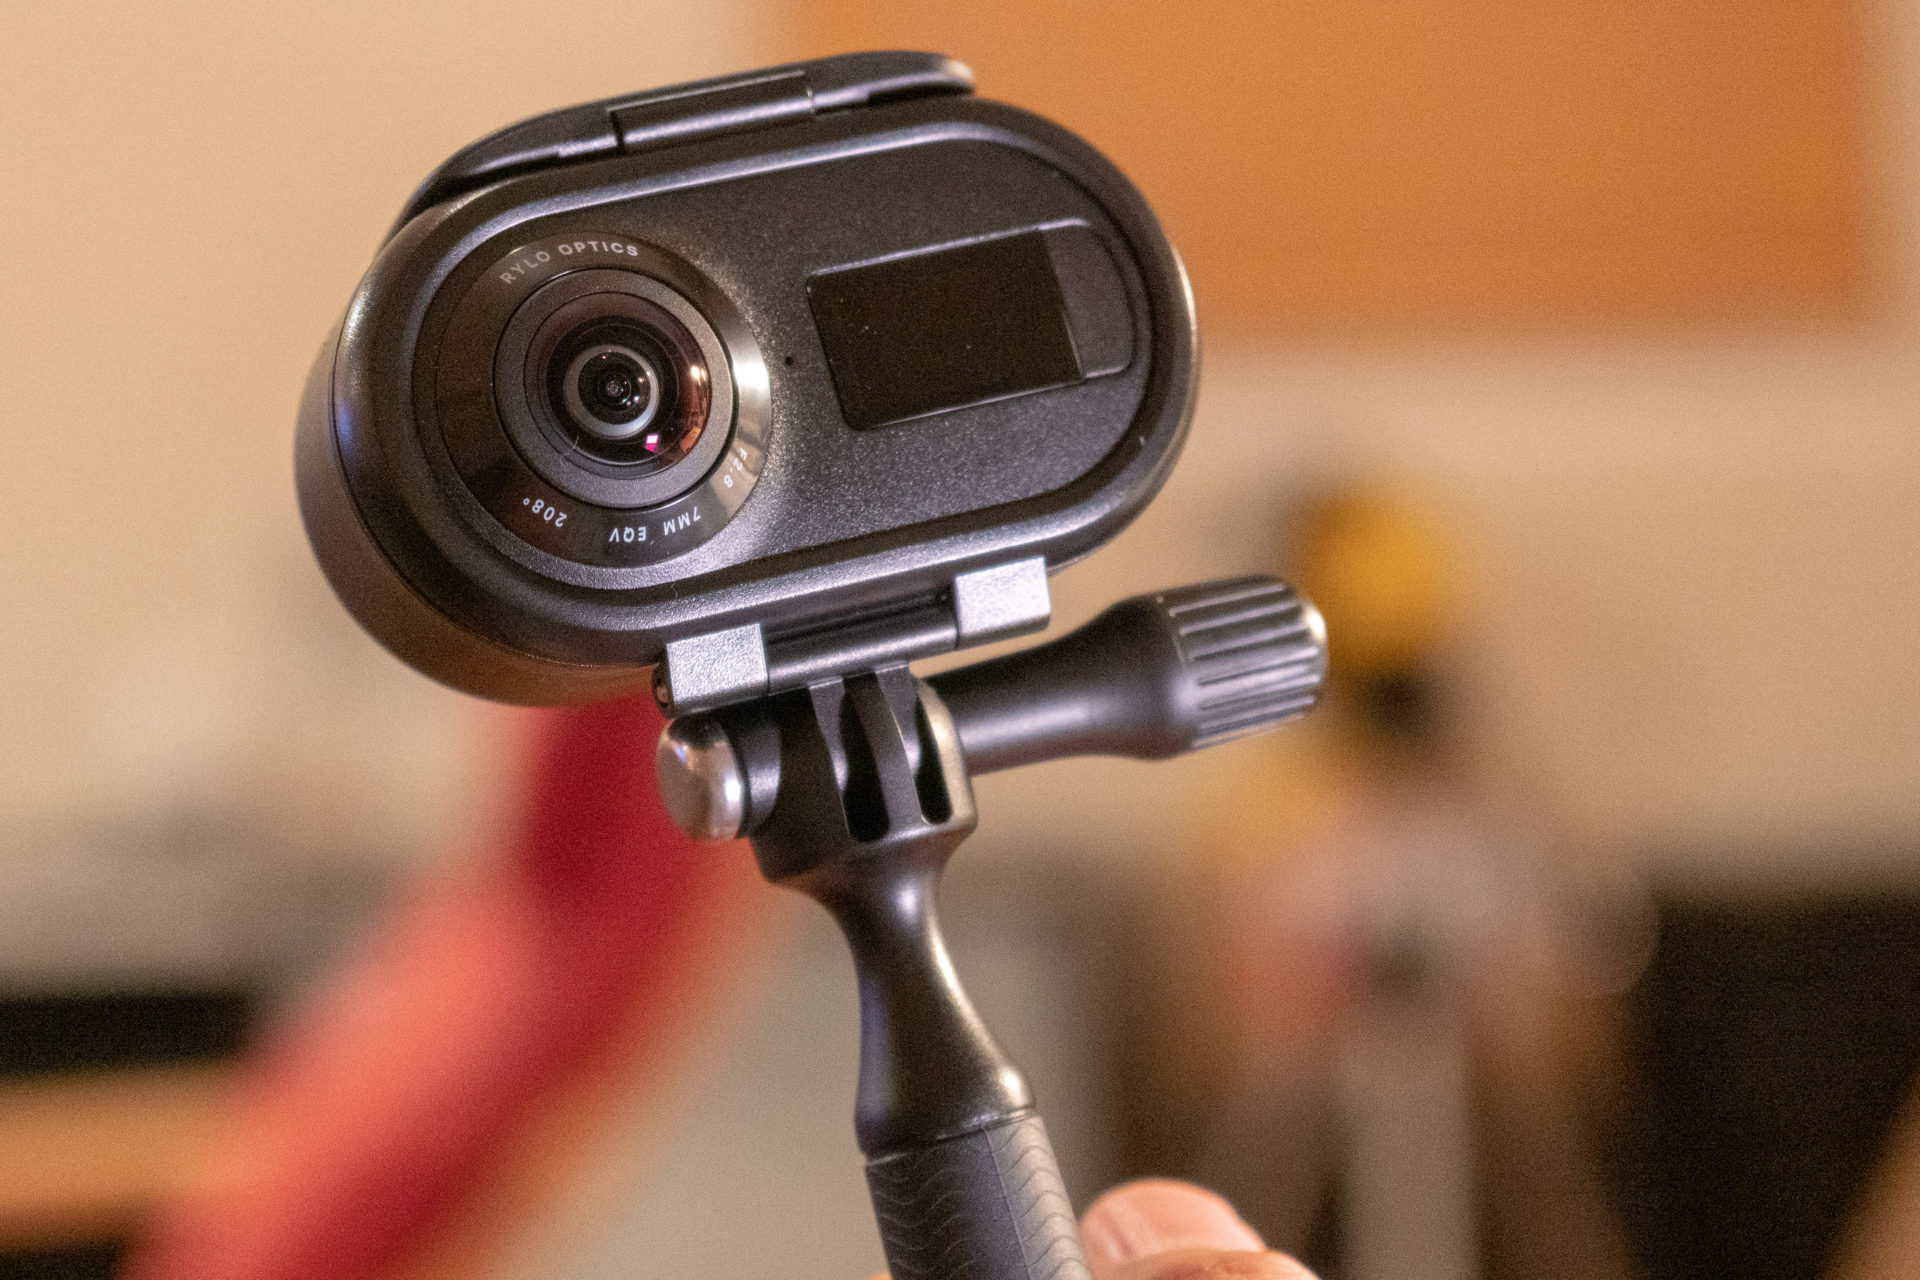
The Rylo is a diminutive 360 action camera brought to you by the co-creators of Instagram's Hyperlapse product. It fuses two 7mm 208° degree F/2.8 lenses to record and output high-resolution 360 photos and videos.
The Rylo is capable of capturing in the following modes:
- 5.8K 360° @ ~24fps video (upgraded Nov 2018)
- 4K 360° @ 30fps video
- 4K 180° @ 30fps video (front or rear)
- 6K 360° panoramic photo
Additionally, it features the following specifications:
- Up to 16x timelapse support
- Bluetooth wireless remote recording (via connected phone)
- Removable Li-Ion battery with up to 60 minutes continuous recording
- OLED display screen
- Up to 128GB microSD support
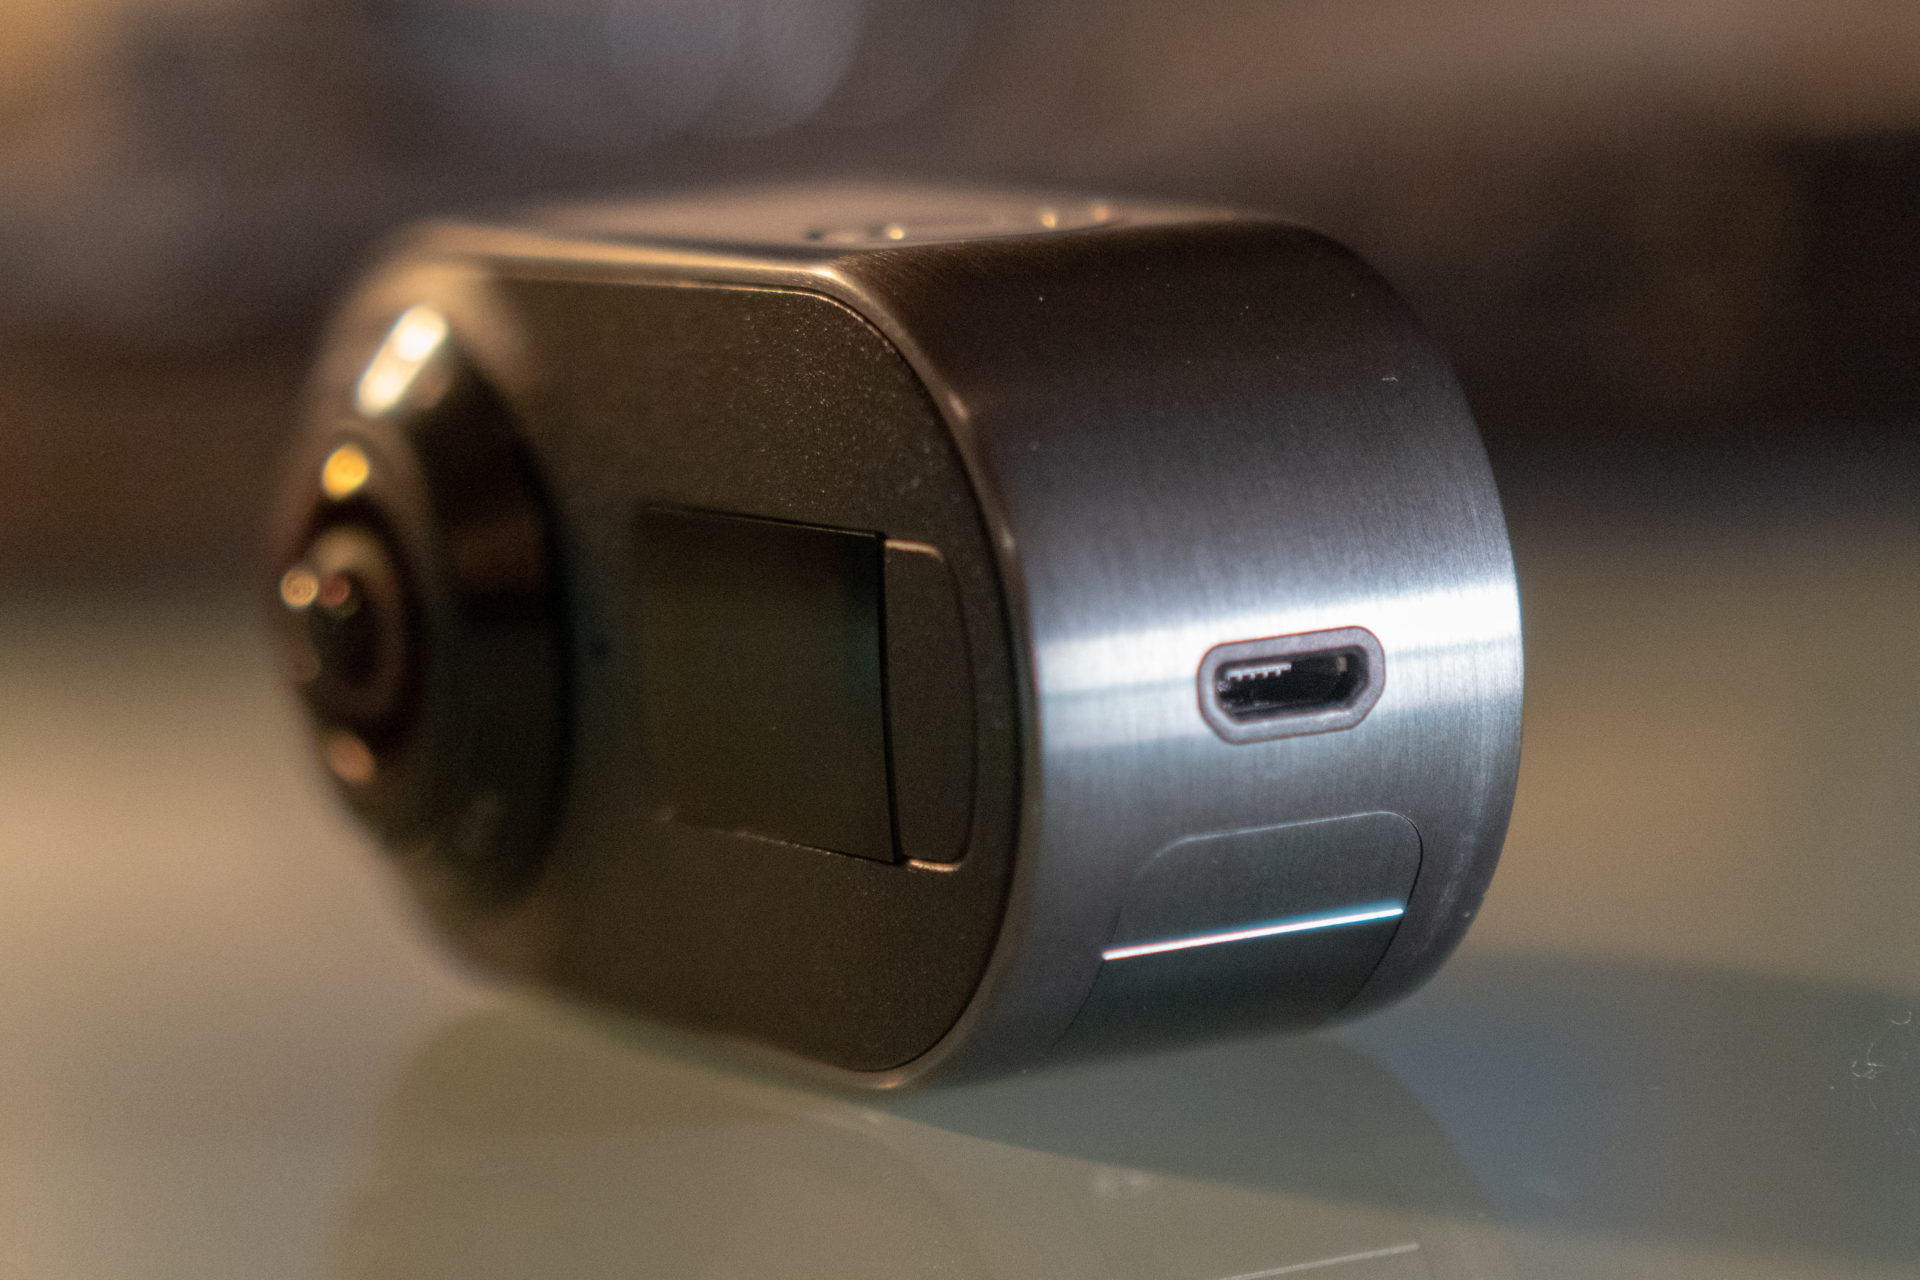
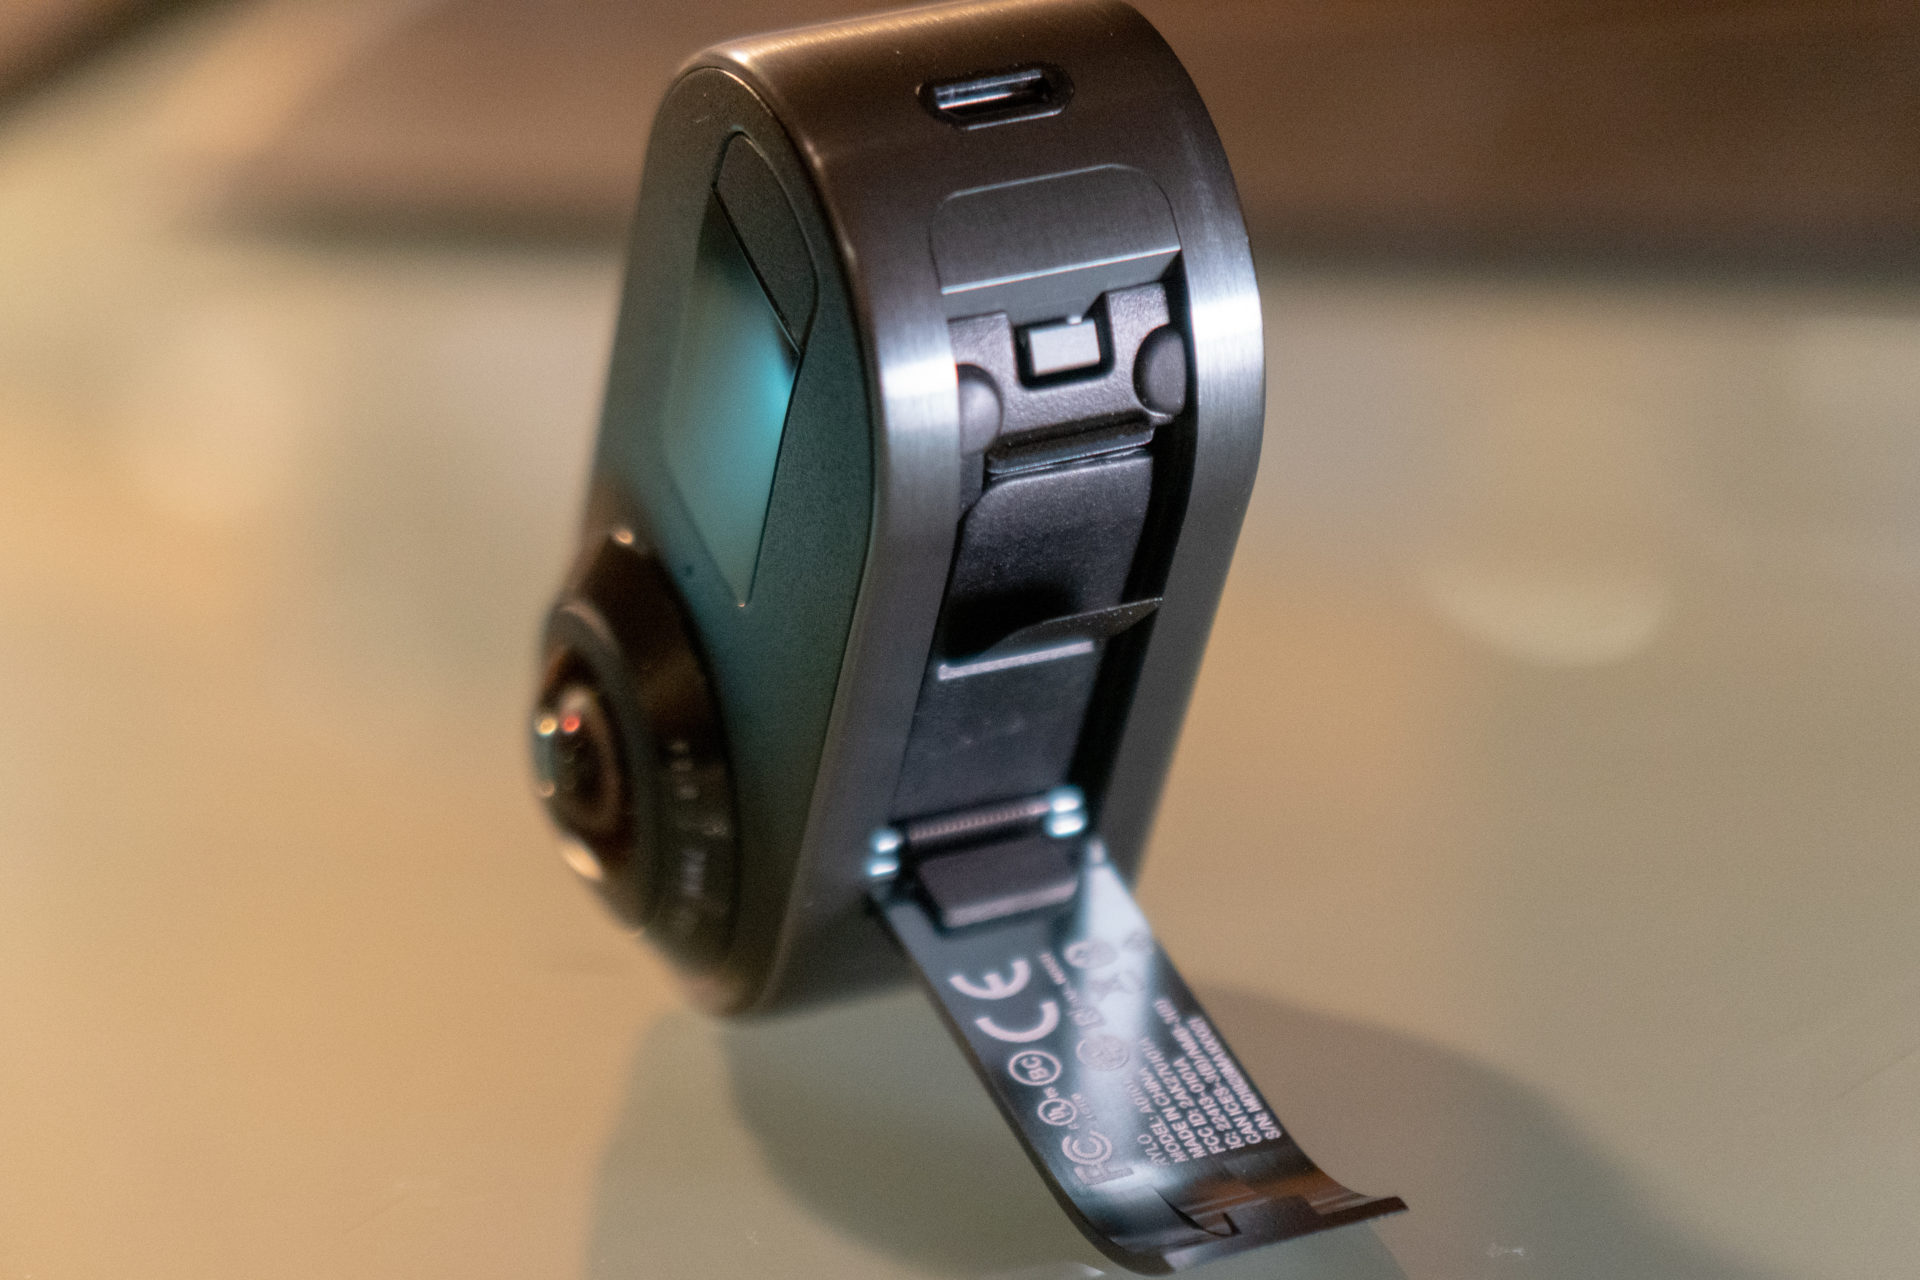
The build quality of the Rylo is exceptional. The stainless steel body is machined with precision and it just feels solidly built. The battery door is solid and has a satisfying push to open feel. The battery door opens to reveal the battery and memory card slots.
The Rylo ships with an "everyday case" that holds the Rylo and provides various mounting options. By default, it ships with a short handle and wrist strap so you can safely use the camera. The handle has a hidden 1/4" female screw mount so it can quickly be pointed on a tripod or longer stick for drone-like shots. Additionally, the handle can be removed entirely and replaced with any GoPro compatible mount accessory.
Why Did I Get It?
I was looking for a good way to document my outdoor activities (namely trail running, road running and hiking) without needing to bring lots of gear and without missing out on the experience myself.
I tried the following crazy setups:
- Mobile Phone
- Pro: Easy and light
- Con: Have to aim, unstable footage (even with stabilization turned on)
- Mobile Phone + Gimbal
- Pro: Relatively light, good stable footage
- Con: Have to aim, gimbal somewhat unwieldy
- Yi4K Action Camera
- Pro: Easy and light
- Con: Have to aim, electronically stabilized footage is too warp-y
- Yi4K Action Camera + Gimbal
- Pro: Relatively light, good stable footage
- Con: Have to aim
- Sony A6300 Mirrorless Camera + Full Sized Gimbal
- Pro: Amazing quality video
- Con: Have to aim, very heavy
Within that list, there were a few reasonable solutions; however, the all suffered from the same flaws: limited field of view and complexity. In all the gimbal scenarios, you have to turn on the gimbal and then turn on the camera. This requires your attention.
The Rylo changes that.
How Has It Worked Out?
The Rylo has essentially changed my world because it has freed me to be completely part of the experience and to worry about the story telling afterwards. Not only does it allow you to capture what is happening around you but it allows you to be part of the story since it's acts as a third person view (3PV). With the right width and length selfie stick, the Rylo magically removes the stick from the scene so it looks like you're being followed with a floating camera or drone.
The Rylo is incredibly easy to use. There are only two buttons on the device. The top button is the power/action button. A long press turns the device on and off. Once the device is on, a short press starts and stop video recording (if you're in video mode) or takes a photo (panoramic mode). In all cases, there is both unique audible and haptic feedback for all of the actions. This gives you the confidence to operate the Rylo when you're in the middle of an activity and can't safely look at the device.
The menu button next to the OLED screen allows you to toggle between modes. You can use the software app to enable/disable certain modes to simplify your choices. For instance, I don't ever use the 180 degree modes so I just disable them so I can toggle through the other modes faster. One feature I really appreciate is that the Rylo remembers the last setting you were on so you can start recording very quickly. I can long press once and then short press without looking and know that I'm recording instantly.
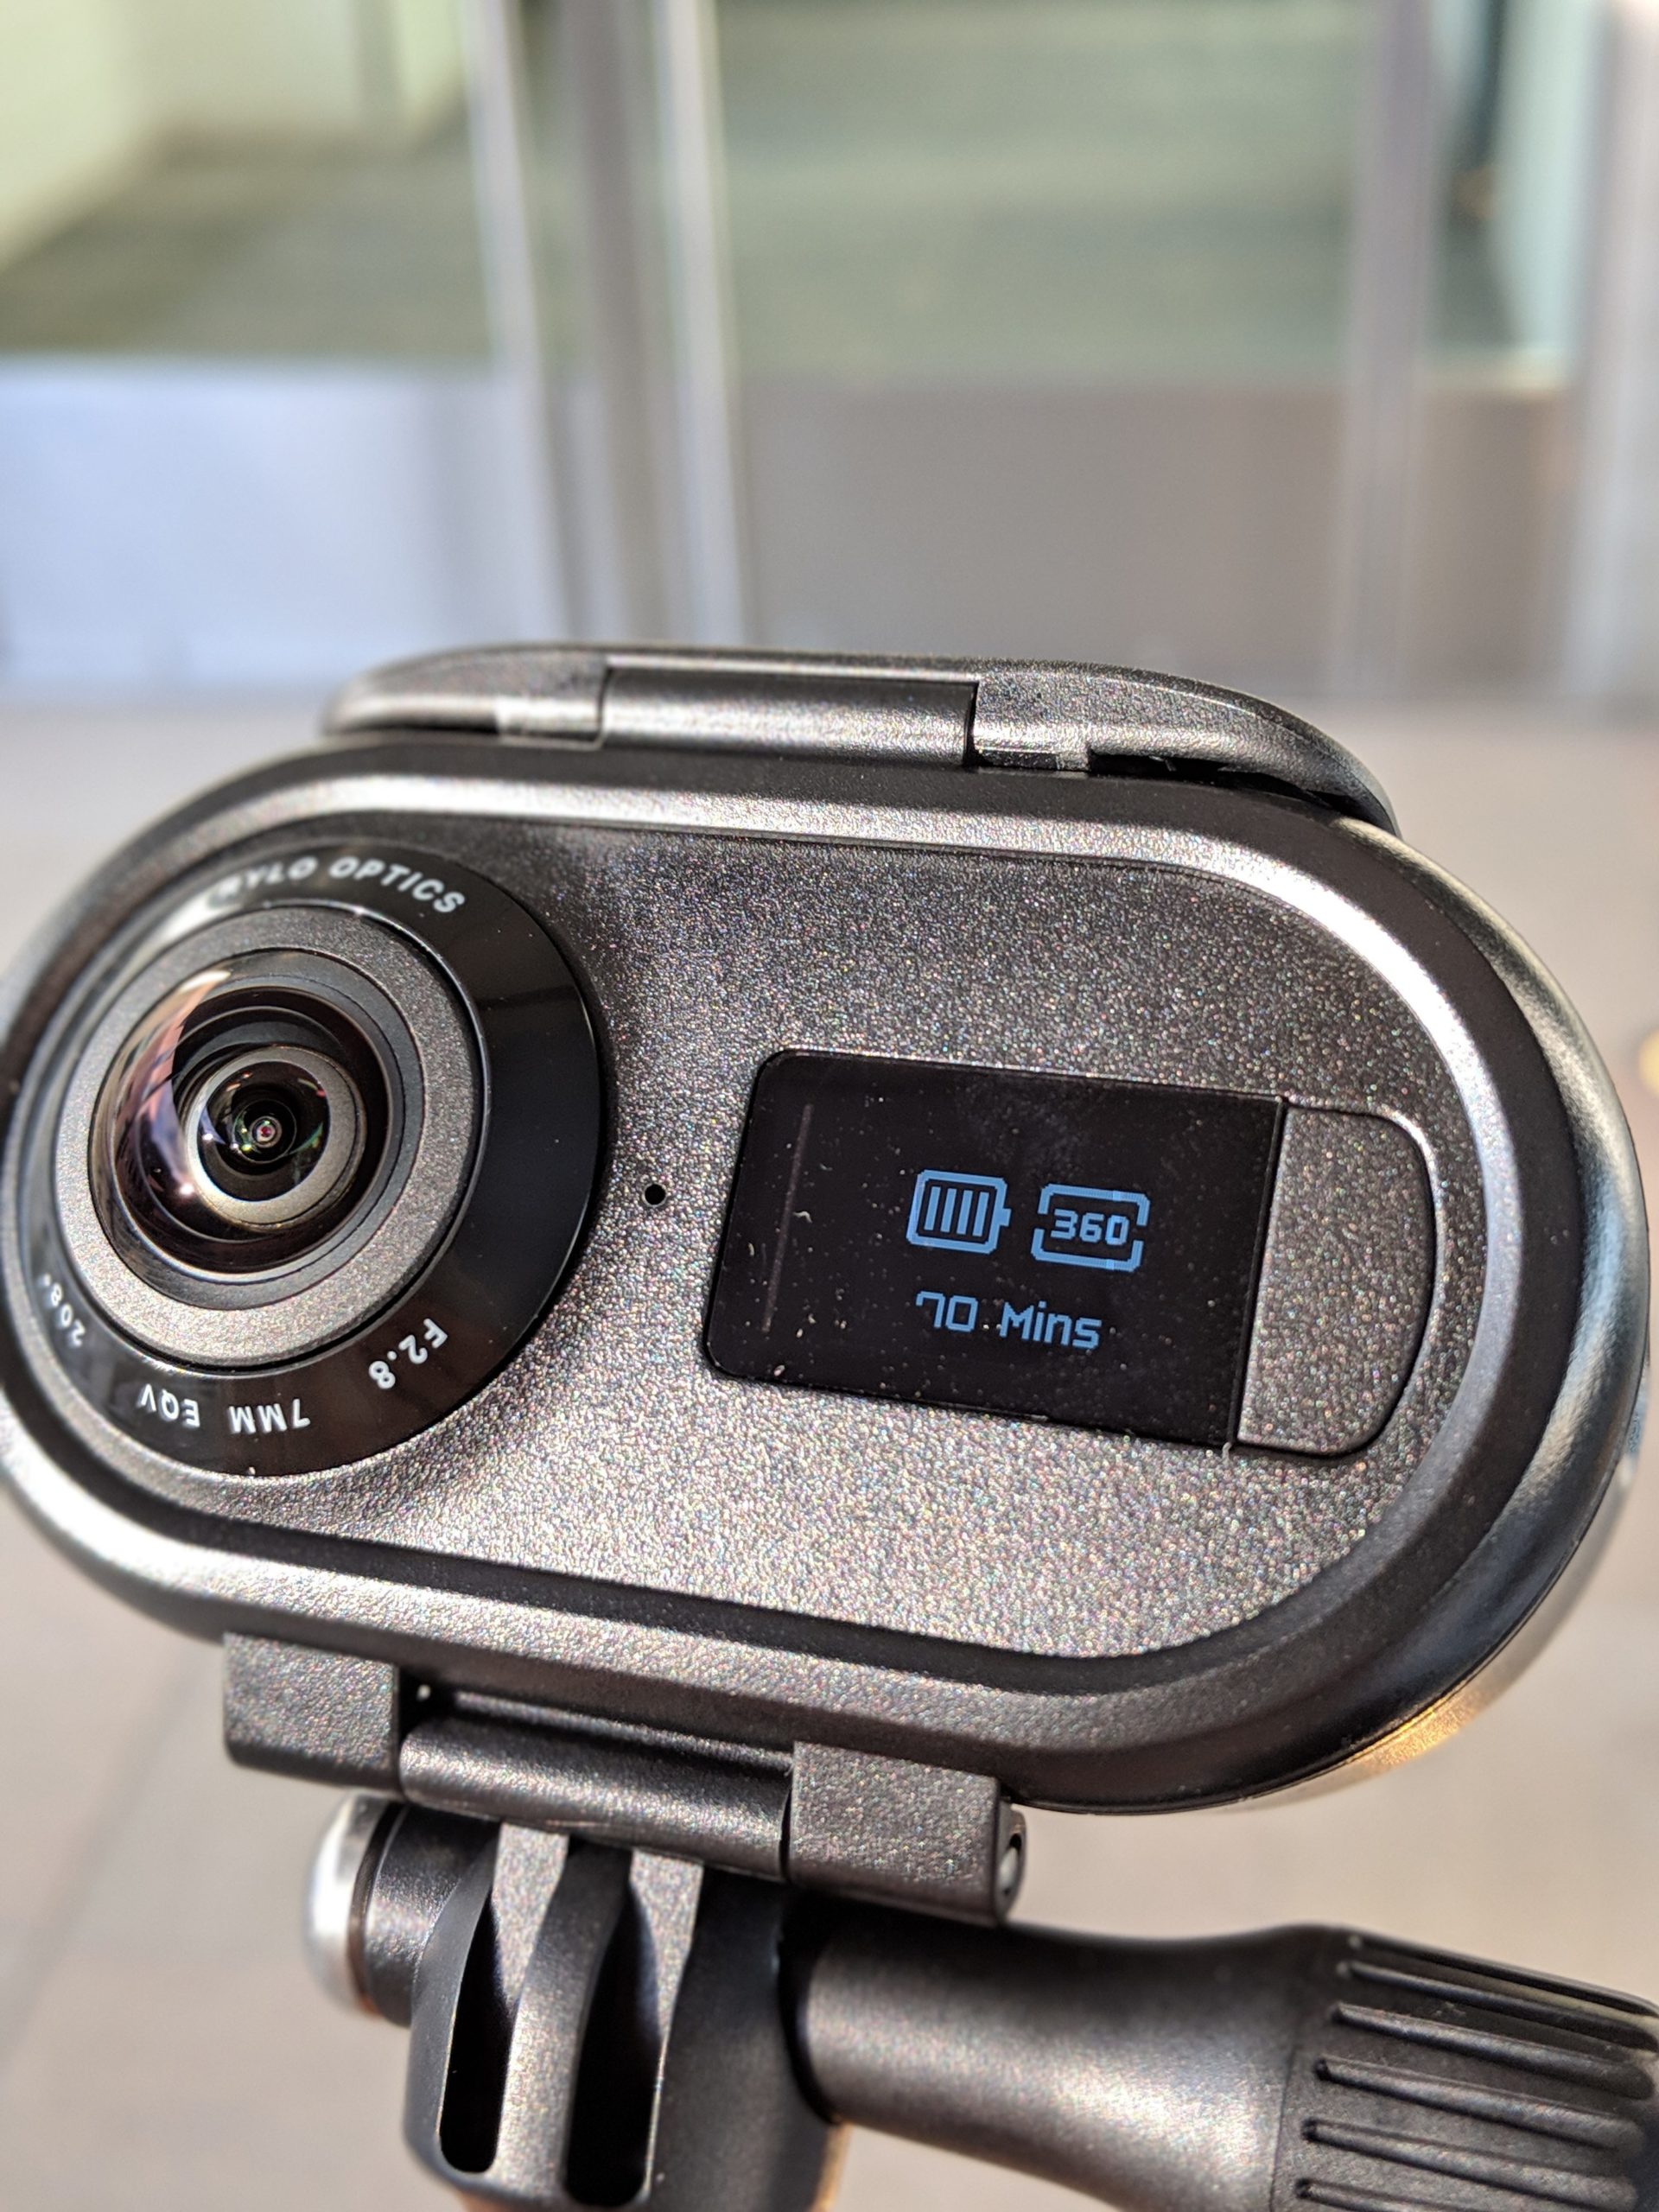
The single color OLED uses simple and easy to understand icons and the screen is easy to see in bright conditions.
Unlike many other devices, the Rylo requires transfer via a cable. While this seems like an omission, it actually makes a lot of sense since the files can be quite large and it simplifies the process. There's no complicated WiFi setup. You plug it in and it shows up on your Android or iOS phone. You can edit straight off the camera or you can transfer the files to your phone to edit later. It's well-executed.
The software interface and all the features have parity on both Android and iOS so you can take advantage of the footage regardless of whichever platform you use.
The software is very intuitive. You can scrub through the video, set trim points, adjust video aspect ratio, and adjust the colors. The simplest option is to output 360 video directly so others can look around in your videos. However, the magic is in the "cinematic video". You can use the built-in follow tool to follow a subject within the frame or you can manually scrub the video and set key points where you want the camera to look at. The software will then pan the camera magically leveling the horizon, stabilizing the video, and adding easing. When you're ready, you can watch it back and then export it to your camera library.
The best way to showcase what it can do it to look at some of my footage.
The first clip was an example of the simplicity of the Rylo. I told my wife to enjoy the flight and just hold the camera up, press record, and not worry about aiming it at anything. We were able to get this footage.
The Rylo has an optional adventure case for protection against the elements and allows for immersion in up to 3m (~10ft) of water. Here's an example of some snorkeling I did when I first got the camera.
The Rylo has a feature called Hyperlapse where footage is sped up and stabilized with a motion blur effect to create a surrealistic time-lapse video.
This was another fun use of the Rylo where I wanted to capture the sheer scale of the ziplines that we were riding.
This last clip is my number one use case for the Rylo: Running. Not only can I capture my group runs, but I can actually be in it too. Attached to a shorter selfie stick, my running vest acts as a quiver and I can easily get the camera out and put it away without missing a step.
Is It Worth It?
When it was first released in late 2017 at $499, it was one of the better but pricier options. Over the past year, new competition has arrived but the Rylo has stayed competitive thanks to timely firmware and software authoring updates. In addition to improving the quality and colors of the video, Rylo has unleashed the full potential of the hardware by adding features such as wireless bluetooth remote control and upgrading the 4K video to 5.8K putting it on par with the latest offerings from competitors.
That said, I do want to point out a few shortcomings about the Rylo and 360 cameras in general.
First of all, while the Rylo footage shines in great lighting, the low light performance is not great. Colors and details can get muddy.
Second, the Rylo's batteries are susceptible to cold temperatures. If you can keep them warm then they'll perform better but the cold burns them faster.
Third, you have to keep the lenses as clean as possible. Lint, water drops, or abrasions can dramatically reduce the quality of the footage. This is exacerbated by the spherical lenses unlike traditional flat lenses.
Fourth, you need a quality microSD card that's fast if you intend to use the 5.8K mode. I typically use SanDisk Extreme Pro (U3 V30) cards which tend to work with anything requiring 4K or above.
Lastly, the quality of the 1080p output can vary depending on how you've edited the video. The reason why is the you're essentially taking 4 to 5.8K 360 video and trying to output a nearly 2K sized file. Mathematically, there's some interpolation that has to happen so, it's not going to look as good as say a FullHD video shot on your phone with a single lens.
Despite these shortcomings, I still think it's worth it. The reason why is that I value capturing the moment more over the loss of fidelity.
Would I Recommend It?
As of right now, this is my favorite camera to take on any adventure. It is the perfect companion if you like to be outside and a great option for runners on both road and trail if you want to capture what's happening around you while actually experiencing it yourself.
Highly recommended because it does what it promises to do. It does so with easy-to-use quality software and hardware.